For those of us who regularly visit blogs or other types of content websites such as newspapers or news portals, it is very useful to subscribe to them to automatically receive new content and be aware of the latest news. If you are also one of those who manage this type of sites, it will be very useful to enable this feature on your website. Although there are many tools, we are going to explain how to configure Mailchimp to automatically send recent articles to those people who have subscribed voluntarily through your page.
What is an RSS?
RSS stands for Really Simple Syndication, an XML format for sharing content on the web. This RSS collects the information of the updates that are generated on the web, so that the people subscribed to this RSS feed receive the updates periodically.
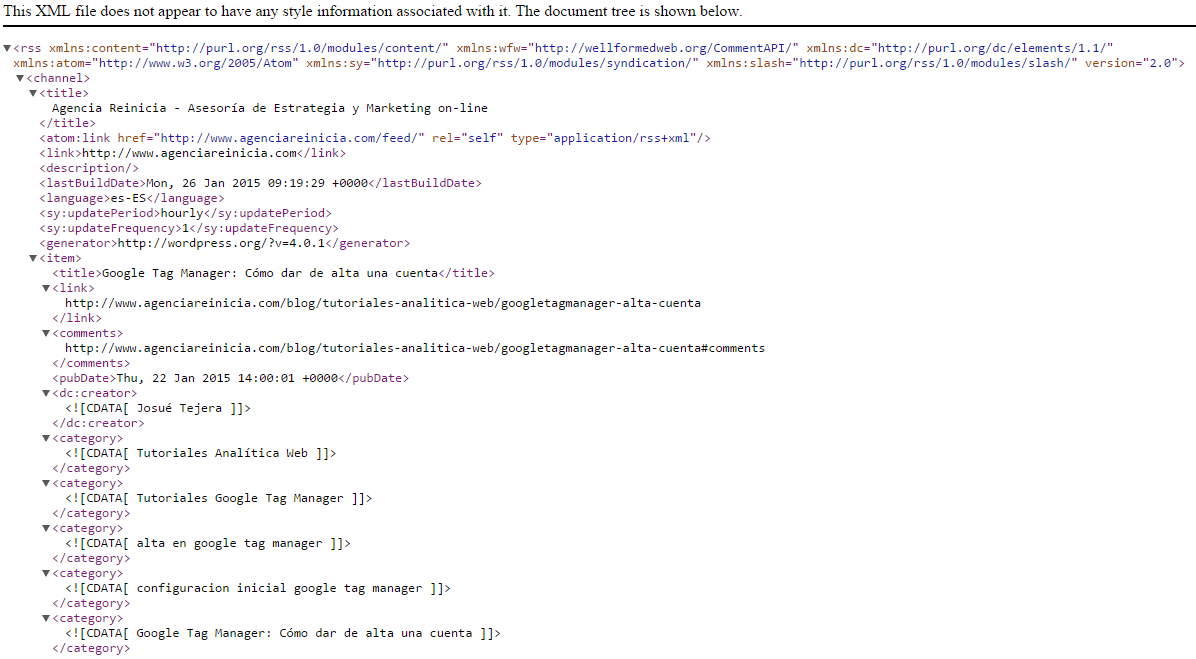
RSS takes the information from the website’s data feed, which in turn provides basic information such as title, meta description, updates and publication dates. To get this information, we type the URL of our website and add /feed. For example: https://www.agenciareinicia.com/feed/.
Any web page could have a data feed. In our example, we will use a WordPress based website, in which case the feed is given by default and shows the updates of our Blog. There are plugins available to modify this information, such as the TensaiRSSwhich allows, among other things, to replace the images with a link to the post, place images next to the links to highlight them, add a signature, hide parts of the blog so that they are not visible in the feed, etc.
How to create an RSS campaign with Mailchimp
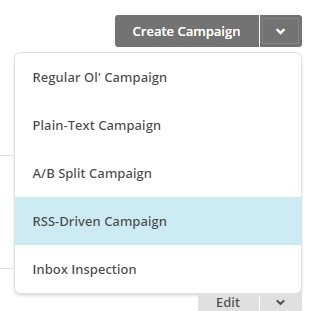
To create an RSS campaign with Mailchimp, the first thing to do is to go to the “Campaigns” tab and click on the “Create Campaign” button -upper right-, move the mouse over the arrow and choose the “RSS-Driven Campaign”.
Once we choose this option, we will start creating our RSS campaign. There are 6 steps to follow and they appear at the bottom of the tool:
![]()
1. RSS feed
In the first step, we must write the URL with the feed of our website, so that the tool can automatically get the information and updates of our page. Remember to add /feed, after the main page.

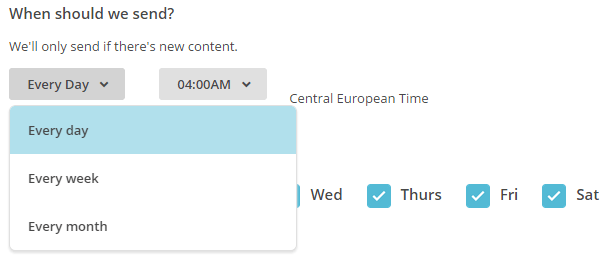
Next, we will define when the Newsletter with the blog updates will be sent. We have 3 options: every day, every week or every month. Whatever we choose, we will have to set a sending time. We must take into account which day of the week and at what time of the day the contacts on our list are most willing to read the contents of our website.
2. Containers
In this second step, we must select the list of contacts to whom we want to send the blog updates. RSS can be internal within a company so that employees are aware of the updates that are produced; or at an external level, as long as the contacts know that they are going to receive this information and agree to it. For example, the readers of a Blog who subscribe voluntarily to receive the news promptly every week in their e-mail.

The list must have been previously created, if not, we must go to the Lists tab, Create list, before starting the campaign. Lists can be imported into Mailchimp directly from an Excel file, and we can define the fields we deem appropriate: First name, Last name, Company, Job title, etc. You can find more information in the support offered by Mailchimp on how to import databases into the tool.
3. Setup
In the Setup section we will give a name to our campaign, we will specify who is the sender of the Newsletter (in this case the name of our Blog or web site), we will establish a subject and we will add an email to which we want the possible answers to the mail to be sent.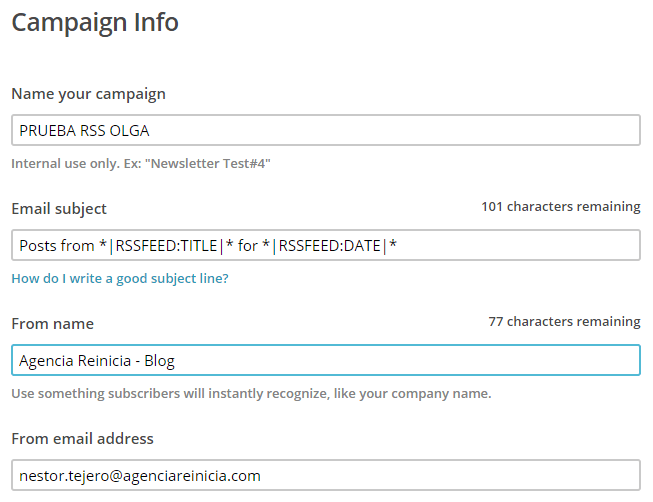
It is very important, in the case of an RSS campaign, NOT to modify the subject of the campaign, since the tool has automatically incorporated merge tags through which it collects the information of the title of our page and the date of publication of each article. What we can -and should- modify is the “Posts from” and “for” which are by default in English and we would translate them to “Articles from” and “for”.
4. Template
This step allows you to choose a template from which to design your Newsletter. In the case of an RSS campaign, especially the first time, we recommend that you choose the “basic RSS” template offered by Mailchimp. This is the easiest way to do it since the template includes the RSS Title and a box with RSS content that the tool takes directly from the feed that we have provided in the first step.

5. Design
The penultimate step in the creation of an RSS campaign with Mailchimp is the design of the Newsletter. To do this, the tool has predefined boxes that automatically collect the feed information through merge tags that are included in the two main boxes:
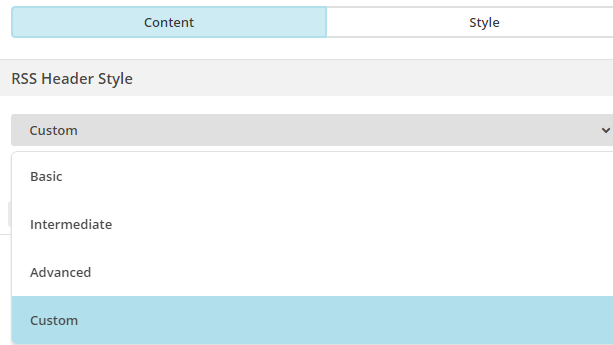
RSS Header Style: Include the RSS title, e.g. “Agencia Reinicia’s Blog”.
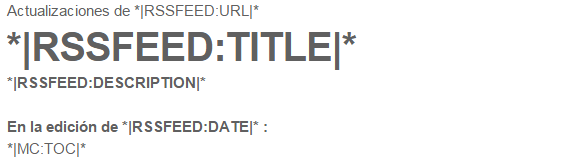
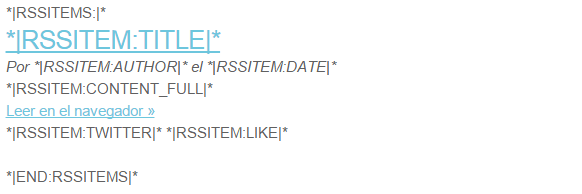
RSS Items Style: Includes the content of the RSS – latest updates, date of publication, authors of the articles, etc-.
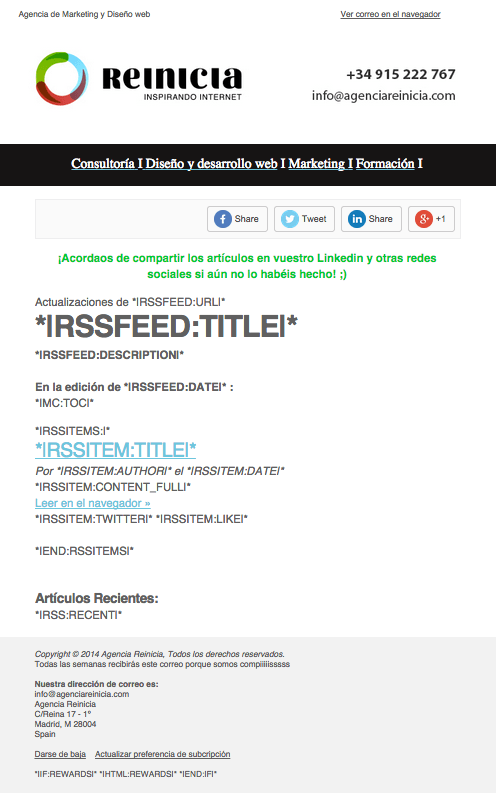
In addition to this basic content for sending an RSS campaign, it is recommended that we include additional content such as a header that identifies our website, a clear footer with information about us, a message for the people who will receive the Newsletter and buttons to share the content on social networks (for the latter, we can choose a maximum of 3 networks per box among which: Facebook, Twitter, Linkedin, Google Plus, Instapaper or forwarding the mail to a friend via email).
6. Confirm
Finally, the last step is to confirm and activate our campaign. To do this, we must check that all the elements of the confirmation list are in green, or otherwise in yellow. If any of the fields is in red, it means that the information necessary to activate the campaign is missing. Yellow indicates that some aspect of the campaign should be changed, but in no case will it prevent the activation of the campaign.
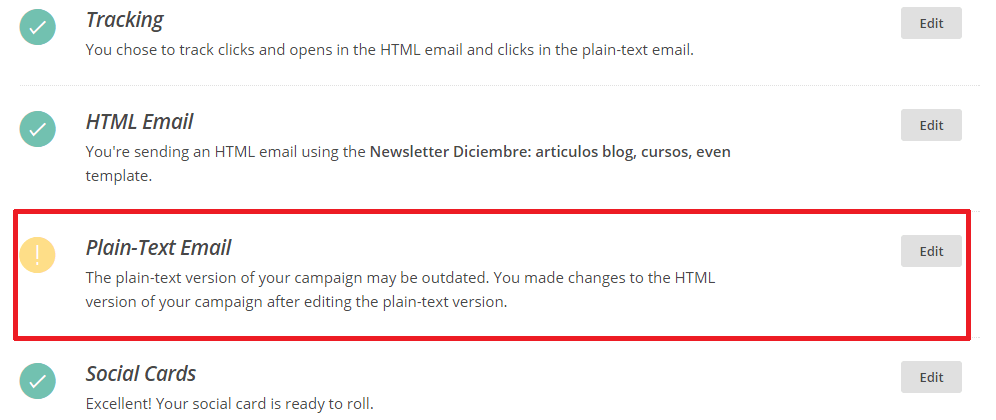
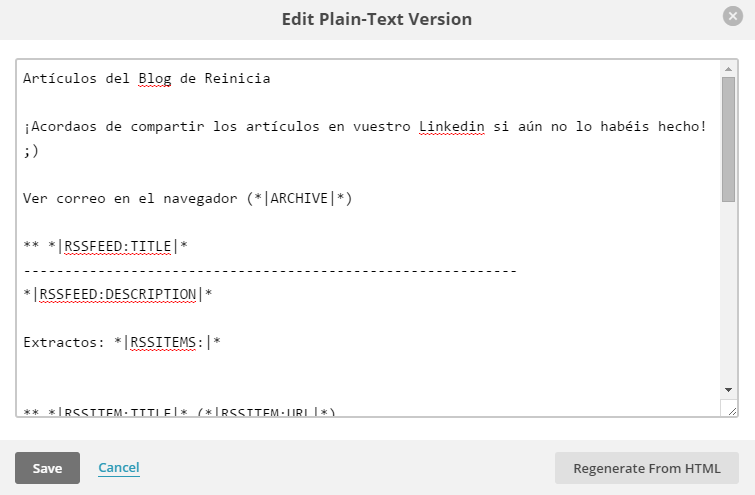
It is advisable to adapt the text version of the campaign -orPlain-Text Email-, so that, if a user does not have access to the version with images, he/she will be able to know what the Newsletter is about in a clear way, with the strictly necessary information and eliminating what is dispensable from this text version. To do this, click on the “Edit” button and clean up the text version, keeping only what is essential.
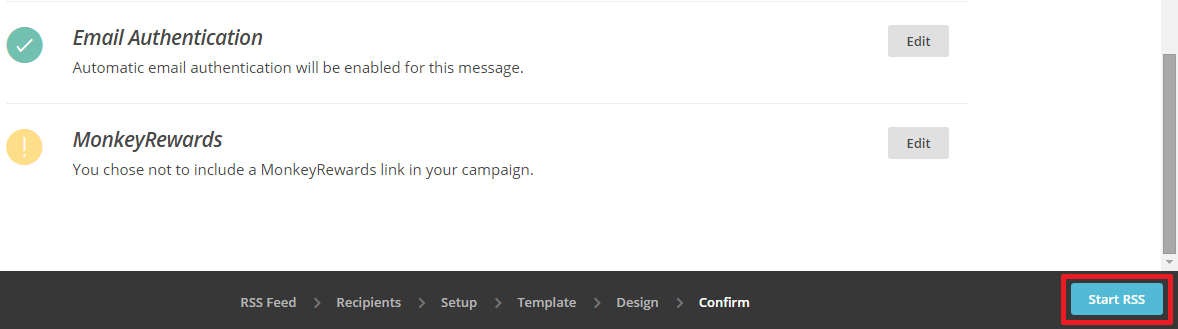
Once everything is finished, all we have to do is click on the Start RSS button at the bottom right!
Once you have done this, remember that you will need to activate a signup form on your website for people to subscribe to the RSS feed. You can see more information about Mailchimp forms on their website.