Mailchimp is one of the most powerful and popular tools for creating newsletter campaigns. It has a free and a paid version, depending on the needs of individuals and companies. It is quite simple to use, but just in case, we show you in this complete guide how to create your first e-mail marketing campaign in a short time.
[registro titulo=”Regístrate a nuestra newsletter y descargarte gratis nuestra guía de conceptos de e-mail marketing automation” url=”https://www.agenciareinicia.com/descarga-de-guia-conceptos-marketing-automation/” texto_boton=”Me registro” imagen=”https://www.agenciareinicia.com/wp-content/uploads/2019/07/Mailchimp_Logo-Vertical_Black.png”]
Create the campaign
In the main navigation menu you will see different sections: dashboard, campaigns, lists and reports. We start in the Campaigns tab and click on the Create Campaign button.

Campaign types
The next step is to choose the type of campaign, these are the following:
- Regular Campaign: The most requested and practical. We can customize it with photos and texts that stand out and give it a professional look.
- Plain-Text Campaign: The typical flat email, with no formatting, images or embellishments. It is useful, for example, for certain internal corporate communications.
- A/B Split Campaign: It is used to send two versions of the campaign to two different groups and see if one works better than the other. This way we can choose the one that has had the best performance and optimize the following ones to achieve more effective deliveries.
- RSS-Driven Campaign: To send content from an RSS feed to the list.
In this case we select Regular Campaign.
List of recipients
Now it is time to choose the list to which we are going to send our campaign. To do this we must have previously created them. In this step we only have to select it and once done, choose which modality we want to use:
- Send to the entire list
- Send to a previously saved segment
- Send to a new segment
- Directly to one that we create by pasting the emails in the fields provided.
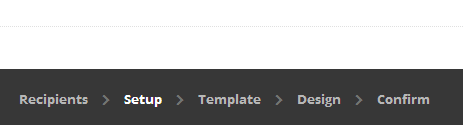
Once selected, click Next and proceed to the next step. The stages can be seen at the bottom. It is highlighted in the one we are in at the moment. As we are in Setup, we continue on that way.
Campaign data
It is time to name the campaign. This name is for internal use, so choose a practical name and don’t worry about anyone seeing it. In any case, it should be simple and descriptive so that other people in the team, in case they have to interact with the campaign, can easily identify it. The email subject is important, since it is the first thing that the recipients will see when they receive the email and the success of the campaign depends on it. At this point we must be clear about the approach we want the campaign to have:
- Descriptive: explains in a simple way what the mail contains and what the objective is
- Arouse interest: the sentence tries to make the user curious to know more and encourages him to click on it.
- Warning: direct language is used to attract their attention and create some concern so that the user opens the mail as soon as possible.
- Friendly: a colloquial and close language is used to make it look like an e-mail from an acquaintance in order to transmit confidence and to open the e-mail.
In From Name we will put the sender, that is to say, us, so that they can identify us easily. Finally, we must indicate the e-mail address from which the campaign will be sent.
As we are creating a simple campaign, the rest of the fields are left as they are. In another post we will go into detail on how to configure these small details in our campaign. Among them it is important to correctly configure Google Analytics to perform a deeper monitoring of the campaigns and to extract useful conclusions for the rest of the campaigns and the company’s own activity.
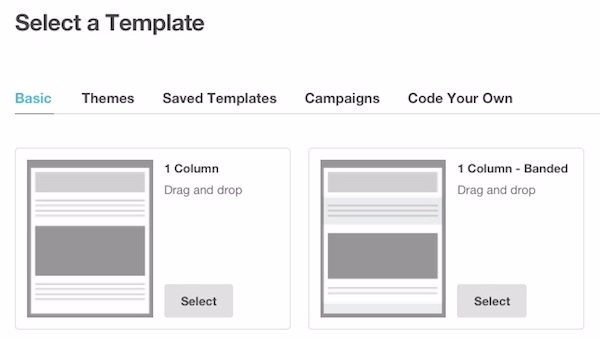
Choose a template
The time has come to choose the template. Although the composition of the elements is something that can always be changed afterwards, we should be clear about what type of template is most suitable for our purpose. Here we should be clear about what type of template is most suitable for our objective. Is there a lot of text? Better a newspaper-type template, with everything in order and with small images. Is the important thing is the visual? Maybe a template with big pictures and eye-catching buttons is better. In Themes you have some examples to inspire you.
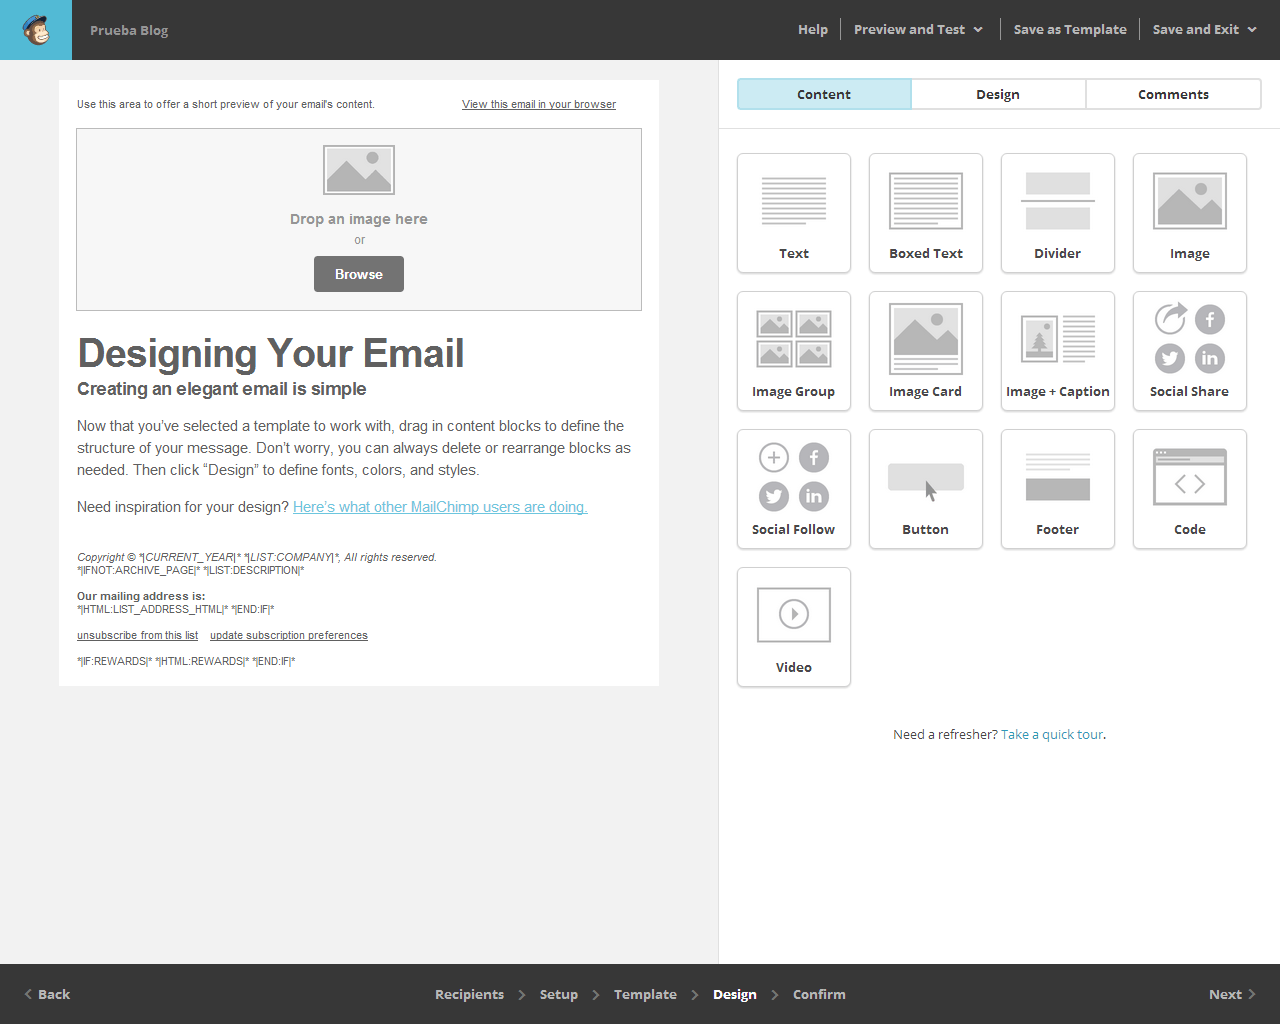
Design the campaign
We come to the creative part. On the left we have the preview of our campaign and on the right the modules that we can use. If you want to include any of them, it is as easy as dragging them to the area on the left. Once there, you can also place it in the desired position in the same way. To edit an element, click in the preview on the element you want and the editable window will open on the right. To save the changes click on Save&Close.
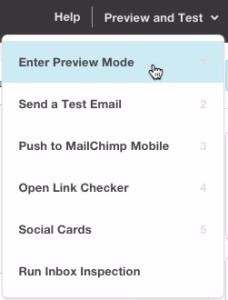
Tests
Before sending the campaign, we have some options that will allow us to detect failures and make a complete check of the newsletter to make it perfect.
These two are the most interesting:
- Open Link Checker: with this tool you can check if the correct links have been placed or if any are missing. By simply hovering the mouse over each image or title, you can check at a glance whether there is a link placed in that space or, if there is, which path it follows.
- Send a test email: this part is vital. With it we can send the campaign in test mode as it will appear to our final senders, so we can check in our own email if it looks good, if there are any errors or if there is something to change.
Confirmation
The last step, the confirmation step.
As a last step in sending the newsletter with Mailchimp, you should always review all the previous steps one by one before sending it definitively. To do this we can move through the menu below, opening each of the stages individually and without undoing the changes we have made during the process.
Conclusions
Creating newsletter campaigns with Mailchimp is relatively simple, but it is a process in which you have to take special care and review each step several times, as it is easy to make mistakes and even a small error can derail all your work. As you progress and learn to use it, you will be able to make a few modifications at a time and find the perfect type of campaign for your business.
That being said, good luck with your campaign!