For some time now , Mailchimp has allowed you to create very functional landing pages (landing pages) easily without having to leave the tool. This is extremely useful when an email marketing campaign has a very clear objective: to achieve the purchase of a new item; to announce a special offer; to obtain registrations, etc. Therefore, this is one more advantage that Mailchimp offers us by combine the creation of these pages with our email marketing. And for free.
What is a landing page?
Let’s start with the basics: a landing page is a landing page with a specific objective where targeted traffic is sent through some kind of marketing campaign: banners, emails, social networks… Although the aesthetics should be the same as that of our website or online store, the interface is usually simplified compared to the rest of the web as it does not usually have a menu, or login, or too many calls to action other than the specific one on which we focus the page. Therefore, it is 100% focused on conversion. The main elements it should contain are:
- A value proposition
- Images or videos related to the product or service we advertised in the email, banner, post, etc.
- Explanation of the product or service or the proposal being made.
- CTA(Call To Action) to perform the conversion as a buy button, or a registration form, for example.
What types of landing page are there in Mailchimp?
There are two main types of landing page depending on the objectives to be achieved:
- Generate sales: eCommerce usually use them to highlight a product, a novelty or offers. They collect all the necessary information to get the user to buy quickly, and decision accelerators such as “Last days”, “Only for a limited time” or “Only available for the first 50 buyers” are also often used.
- Generate leads: obtain the visitor ‘s data through a form. Obviously, whoever gives their data is in exchange for something. Either a webinar, a course, a demo, a discount, etc. You already know that in these cases, the conversion rate is inversely proportional to the amount of information we require, i.e. the more fields the form has, the lower the number of conversions, so think carefully about what information you will need to improve your marketing campaigns. Unfortunately, we tend to ask for more information than we really need.
How can I create my landing page in Mailchimp?
You will work with the same simple and intuitive interface of the tool to create your newsletters. So if you’ve already done your first campaigns or you’ve mastered the automations, it won’t be a problem for you. In addition, if you have connected your store with Mailchimp, you can add as many products to your page as you want.
Let’s go step by step through the process of creating and launching a landing page without leaving Mailchimp:
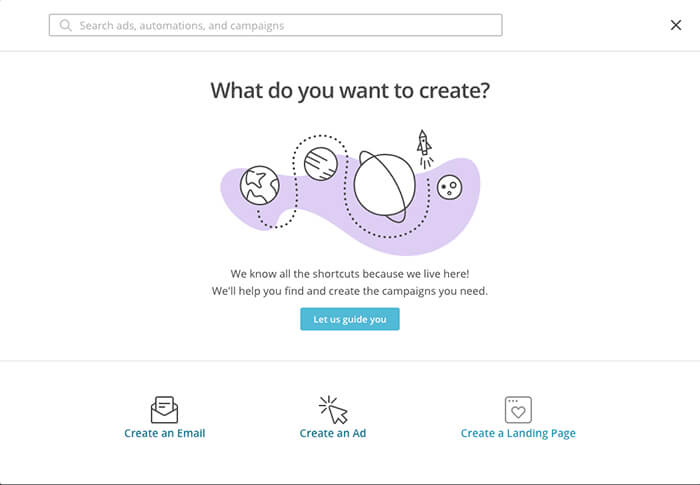
From your Mailchimp account, click on the Create a campaign button, from the Campaigns section. A new window will appear where you can choose Create a landing page (bottom right).
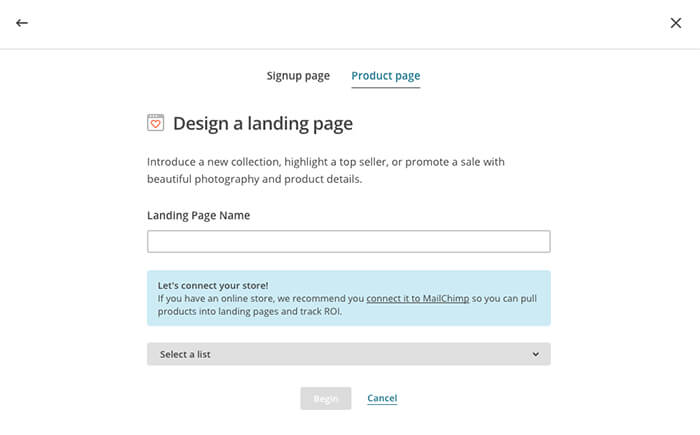
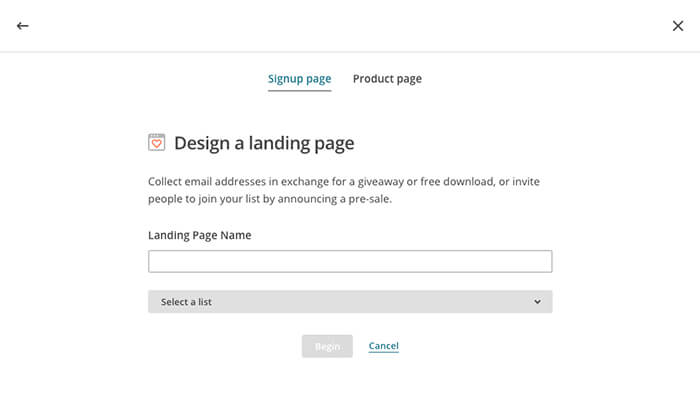
After choosing the landing page option, the window will change again and you will be able to choose between Signup page or Product Page in the top menu. The first one will be used to collect information from your subscribers and the second one to get more sales, announce new products, etc. For this second option you need to have your store connected to Mailchimp.
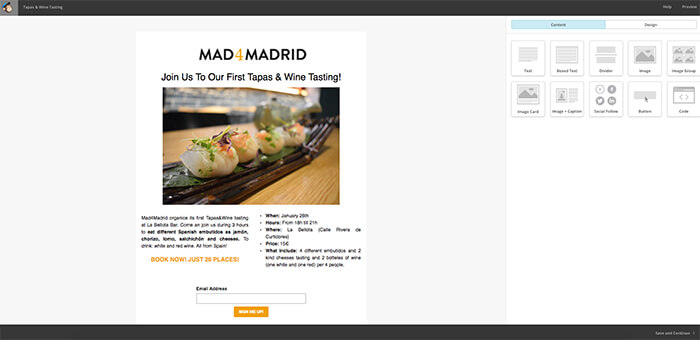
We are going to choose Signup Page. We will use the Mad4Madrid account, taking advantage of the fact that they are going to organize a wine and tapas tasting event. Their goal is to get attendees to the event to pre-register by reserving their place.
We name the landing and select the list we are going to use:
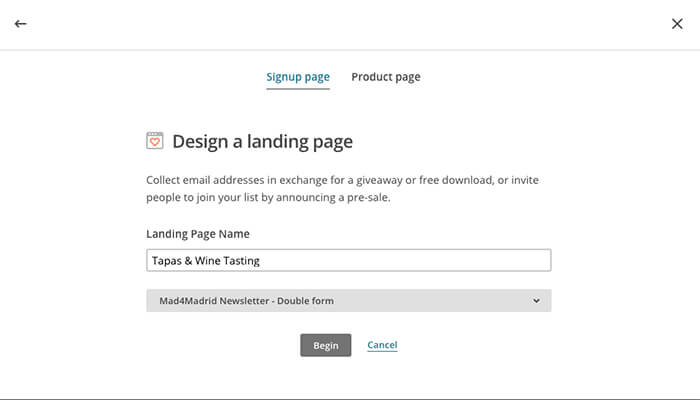
4. After clicking the Begin button on the previous screen, we go to the usual editor found in email marketing campaigns with the basic elements for our page: space for the logo in the header, a descriptive space and the basic form with a button.
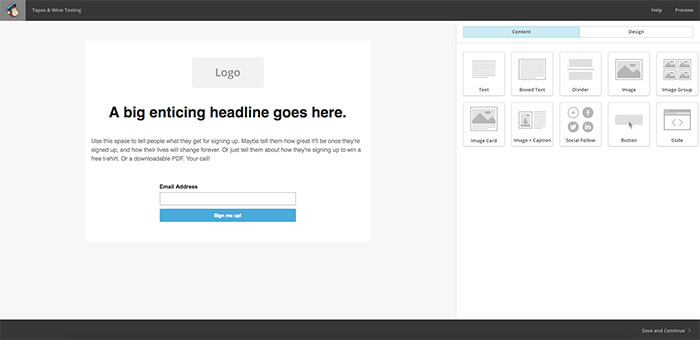
5. Customize each of these elements. Remember that it must follow the aesthetics of your brand, website or the emails you usually send. A trick is to open a draft campaign in another tab and take the different elements such as fonts, etc. from the HTML version.
You can also add other elements that you consider necessary for your page. We have included an image and used 2 columns for the text block to highlight the most important data of the event. We have also customized the color of the button.
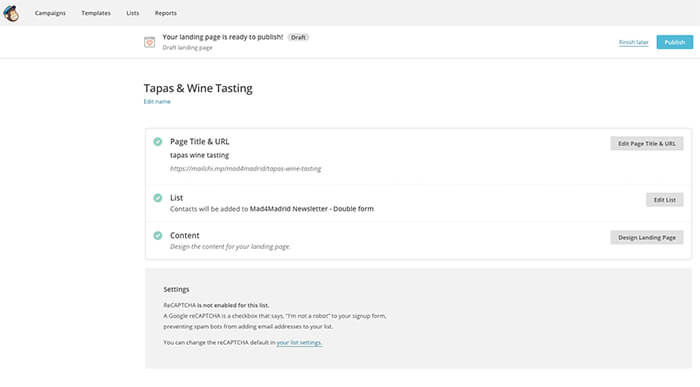
Once the landing page is ready and to our liking, click on Save and Continue at the bottom right. The next screen will show us some editable options such as the page title and URL, the list, or a button to return to the content editor. At the top we have the Publish option in the form of a button to publish and Finish later to exit and leave the page in draft (you can find it next to your campaigns).
If you decide to publish, just click the Publish button and your new landing page will be published with a personalized URL based on the name you have given it. Just copy the link and add it to your next email marketing campaign and start generating leads!